
This is part 1 of 3 in Evidence Underfoot: A Floor-Level Guide to Move-In and Move-Out Condition.
Picture this: a tenant moves out after three years, and you find a long gouge in the hallway hardwood. The tenant says it was already there. Your move-in photo, a bright, blurry shot from the doorway, can't settle it either way, and that deposit charge just got much harder to defend.
This three-part series looks at move-in and move-out condition from the floor up. It was shaped with flooring insight from Brandi Carpet, whose hands-on view of how carpet, hardwood, tile, laminate and vinyl plank wear over time guided much of what follows. Part 1 covers the record you make on day one. Parts 2 and 3 cover what to do with it later.
Once furniture, rugs and boxes arrive, the floor disappears. You get one clean window to document it, and most owners spend it on fast phone shots that show a room but rarely the floor. Here is where those photos fall short:
- Overhead light only. Ceiling light hides shallow scratches and dents.
- No close-ups. Wide shots cannot prove a small chip was or was not there.
- No scale. A stain with nothing beside it gives no sense of size.
- No location. A close-up is useless if nobody knows which room it came from.
- No date proof. Files get renamed, copied and stripped of their dates.
Each is easy to fix, as long as the fix happens before the moving truck shows up.
Use Light That Skims the Surface
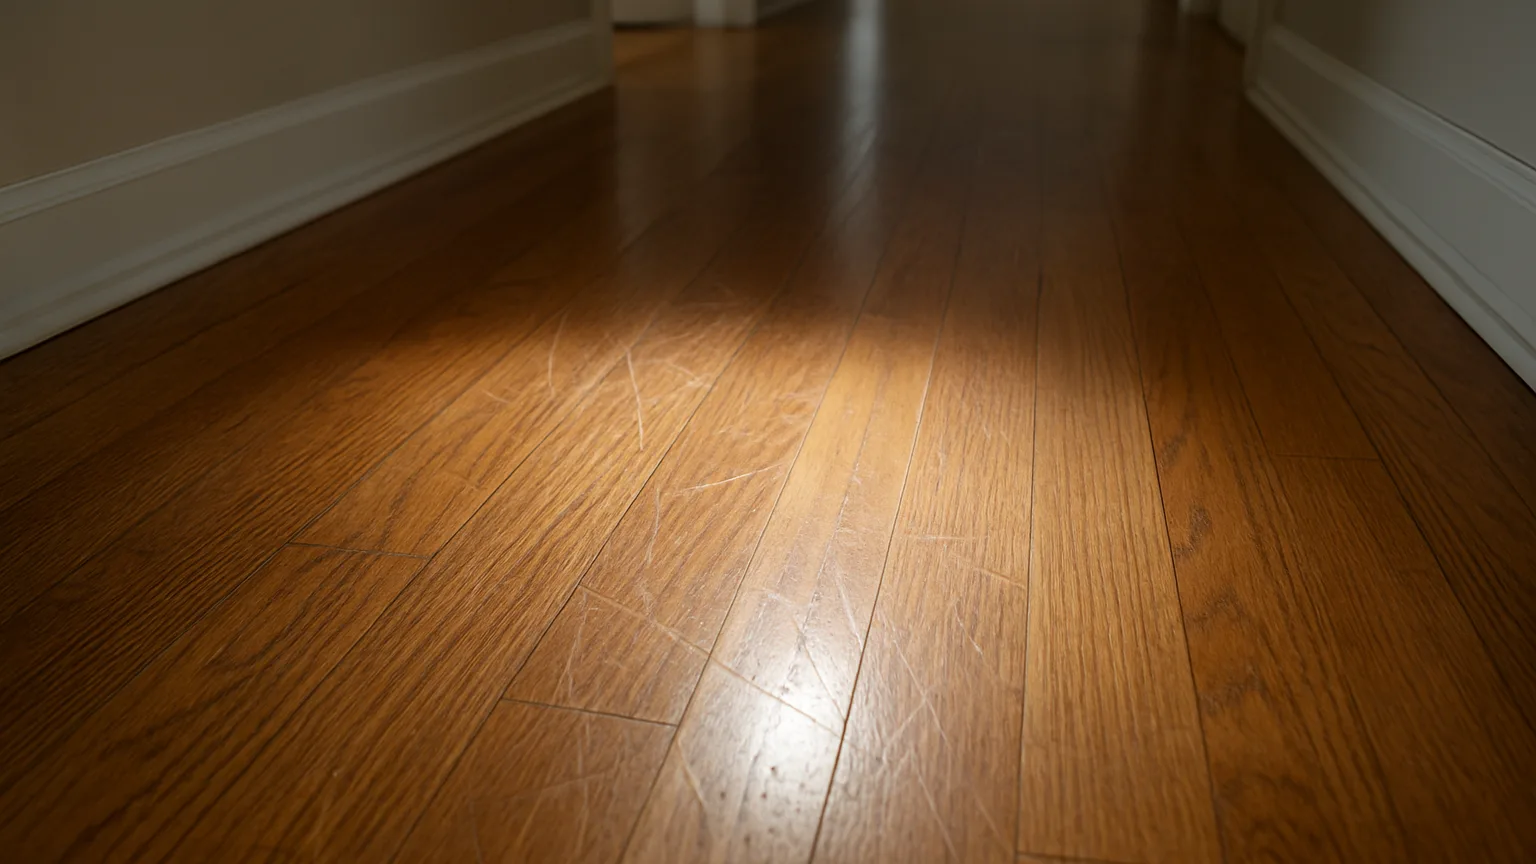
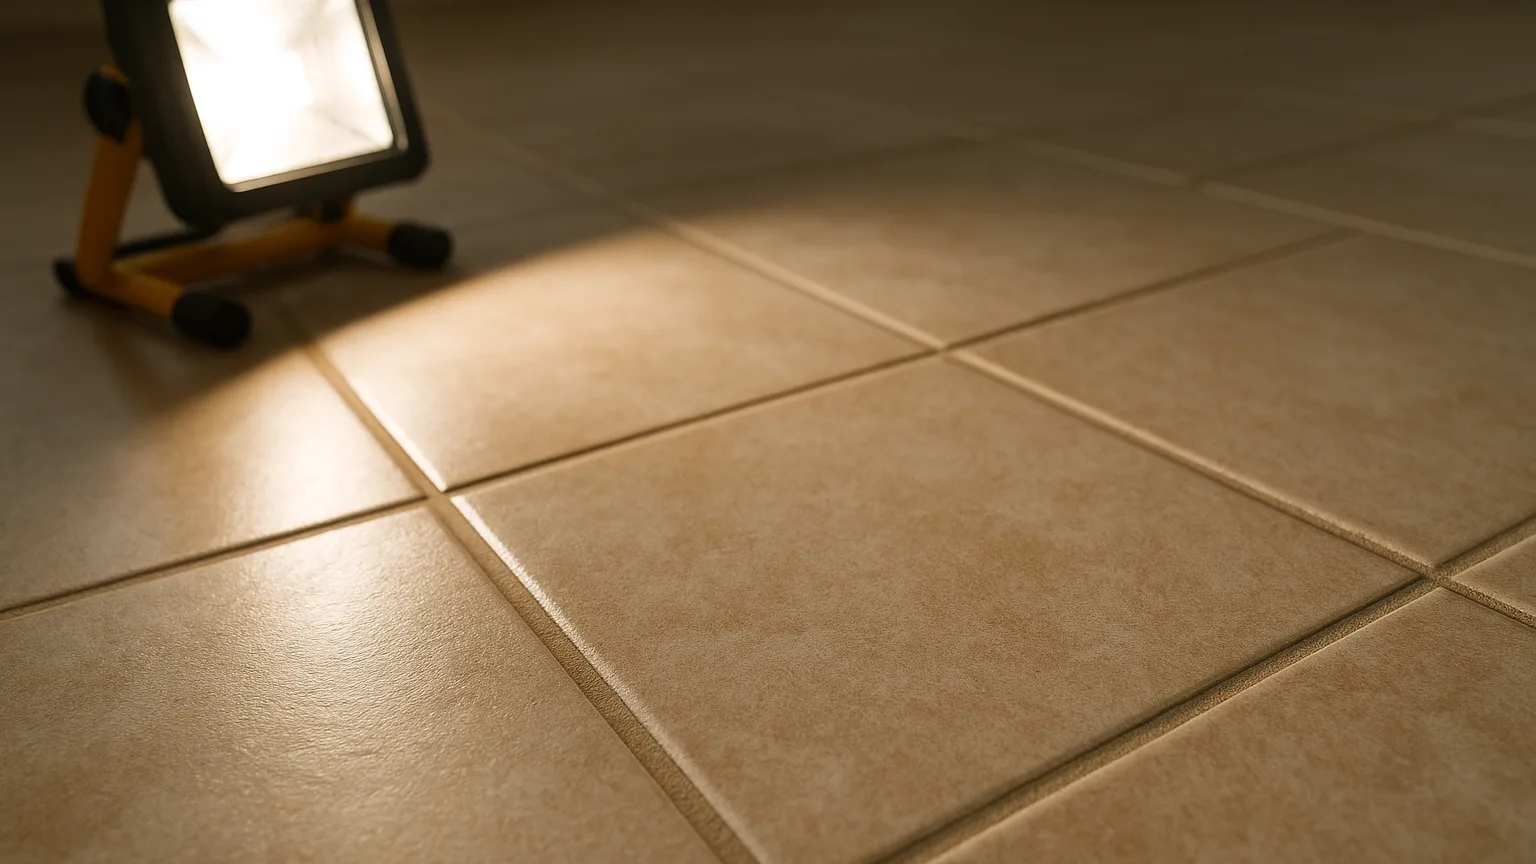
The best tool for floor photos is a flashlight, not a better camera. Turn off the overhead lights, set a bright flashlight or work light on the floor and aim it almost flat across the surface. This raking light throws a small shadow off every scratch, dent and raised seam, so flaws that vanish under ceiling light suddenly pop. Low morning or late-afternoon window light works too. Midday sun washes everything out.
Match the Light to the Floor
- Hardwood and laminate: Low side light shows scratches and cupped boards.
- Vinyl plank: Side light shows dents from past furniture and lifted edges.
- Tile: Light along the grout lines shows cracks, chips and missing grout.
- Carpet: Shoot with and against the pile. Matting, crushing and stains look different from each direction.
Shoot Every Room in Three Steps
Use the same order in every room so the record reads like a map: a wide shot from the doorway showing the whole floor, a mid shot of each zone, like the area by the sink or the path from door to closet, then a close-up of every flaw.
Entries, hallways, kitchen work areas and the spot in front of the couch get the most wear, so give them extra mid shots even if they look perfect. A clean photo of a clean floor is evidence too.
Add a Reference in Every Close-Up
Put something of known size next to each flaw. A coin works, but a small tape measure is better because it shows length and direction at a glance. For long scratches, lay the tape right beside the mark.
Then add an index card in the frame that says something like "Hall, 3 ft from bath door." This one habit settles most arguments about where a mark came from. It also helps when the question shifts to who pays for what, which falls into those rental liability gray zones many owners never plan for.
Tap to focus on the flaw, not the card, and reshoot anything blurry. One sharp photo beats five soft ones.
Good photos can still lose a dispute if nobody can find them or trust their dates, so treat the files like a legal record from the start.
- Leave the original files alone. Keep the date and time data the phone stores in each photo.
- Back up the same day. Upload a full set to cloud storage, in a folder named with the address, unit and move-in date.
- Add a slow video walk. Walk each room with the light low and narrate what you see.
- Get a signature. Share the set with the tenant and have them sign off on the condition report.
Note the Floor Type and Its Age
Write down what each floor is made of, roughly how old it is, and the product name or color if you know it, which makes matching a repair far easier. Marcus Delgado, a flooring specialist at Brandi Carpet, points out that a five-year-old carpet and a brand-new one will never look the same after three more years of living, so the starting age belongs in the file. Age and material also shape what counts as normal at move-out, and our guide on telling wear from damage walks through what to look for.
Repeat the Routine at Move-Out
Use the same light, angles and marker spots when the tenant leaves. Side-by-side photos from matching positions are your strongest proof, and they give a flooring pro what they need to price a fix when you decide whether to patch or replace flooring before the next lease starts.
The Floor Will Tell the Story Either Way
Every floor keeps a record of how it was lived on. The question is whether you can prove where that record started. Raking light, a steady shooting order and clear labels make the evidence. Careful file handling keeps it trusted years later.
The work takes about an hour per unit, and it has to happen before the first box lands. Skip it, and every scratch becomes your word against theirs. Do it well, and a dispute three years out comes down to two matching photos. Next in this series, we read what each floor type really looks like after years of normal life.